Imagine running a fully functional Linux environment right on your Android phone. Sounds crazy, right? Well, it’s absolutely possible, and the best part is, you don’t even need root privileges to make it happen.
I’ve mirrored my phone screen to my laptop, and the first thing I need is Termux (get it from F-Droid), and the second thing is any VNC viewer from the Play Store.
First off, I’ll update my package library, then I’ll add a command to execute an upgrade and get all my packages up to date. This will take a while.
Running Linux on Android is also possible through Ubuntu and Andronix—let me know if you want me to upload about them.
It’s almost done… almost there! Unpacking the packages now, and… done!
Now, I’m going to install OpenSSH because I want easy control from my laptop over Termux. You can do everything directly in Termux, too, if you’d prefer. Let me speed up the video here so it finishes quicker.
Next, I’m going to create an SSH key so I can securely log in via SSH. If you want a tutorial on how SSH works, just drop a comment below!
To connect via SSH, I need some credentials, so I’ll set the password using the passwd command and confirm it. Then, I’ll use the sshd command to start the SSH service.
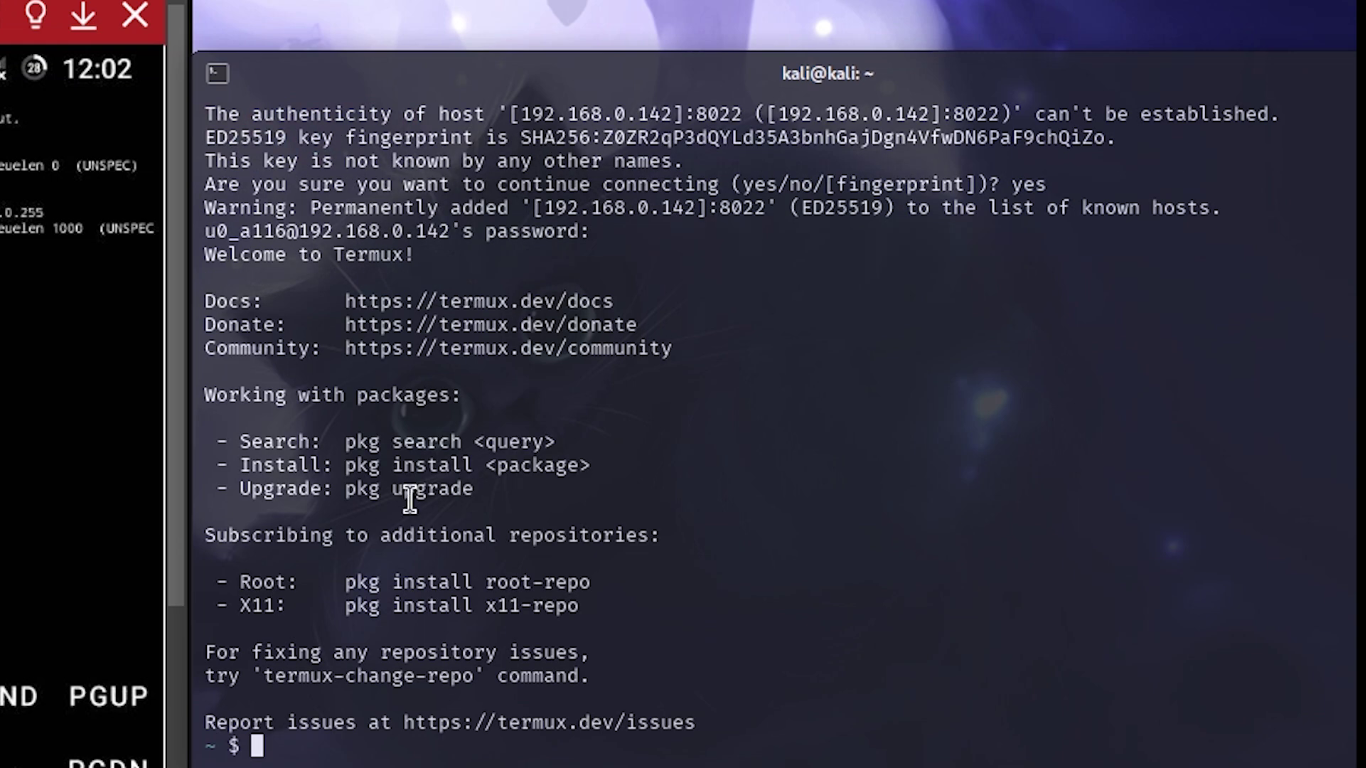
Let me grab the username of the system using the whoami command. Back to my laptop, I’ll open my terminal with Ctrl + T. Now, I’ll need the IP address of my phone. I’ll get that with the ifconfig command. Once you get your network interface, grab your IP address.
Back in the terminal, I’ll type ssh -p 8022 username@ip_address (replace the username and IP address accordingly), hit Enter, and it will ask for authentication. Enter the password you set earlier and boom! You’re connected via SSH.
Now, let me remove the unnecessary MOTD file located at /etc/motd. Watch me kill all these unnecessary lines one by one.
I’ll save the file and exit.
Next, I’ll install the desktop environment. I’ll install X11, which contains the main ingredients for a desktop environment, along with JWM because it’s ultra-lightweight. You could also use XFCE or GNOME if you prefer. I’ll use TigerVNC for the VNC server and Feh for setting the wallpaper.
Now, I’ll create an empty folder named VNC and a file named jwrc, where the configuration will be stored. The configuration file is in my GitHub repo, and I’ll paste it here. I’ll edit it a bit by removing unnecessary quotes. Then, I’ll save and exit.
Next, I’ll create a file called Xstartup in the folder we just created. This file will store the VNC configuration. I’ll copy the configuration from my repo and paste it here. Feel free to fork the repo and customize it as you like.
Now everything’s done, and I’ll download my wallpaper from the server hosted on my machine.
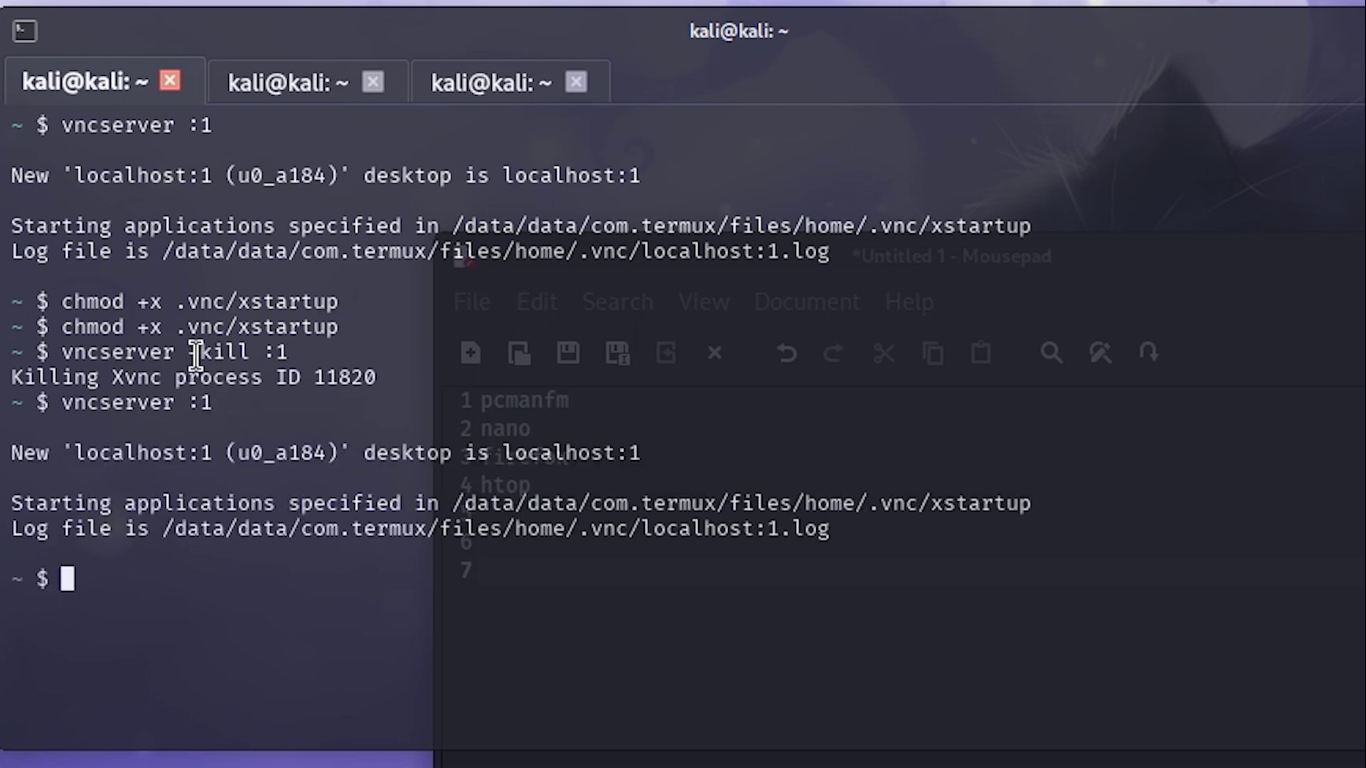
Let’s check the active VNC sessions using vncserver -list. Looks like I already have a VNC session running, so I’ll use the -kill flag to kill that process. Then, I’ll create a new VNC session with vncserver :1 (this is session number 1). It’s starting now… and done!
Now, I’ll change the permissions for the file ~/.vnc/xstartup to avoid permission errors. Let me open a new terminal tab and connect via VNC viewer.
Initially, I see a black screen because I didn’t set the permissions correctly. So back in the terminal, I’ll fix that, kill the session, and restart it. Now, let’s try again, and boom, it’s working!
However, I run into another issue—resize problems. JWM refreshes itself when I reset the window in Windows or Linux, but it doesn’t do so on Android. So, I’ll manually set the wallpaper here. You could actually write a script to set the wallpaper automatically at startup, but I’m just going to do it manually for now.
Next, I’ll install and customize some packages. I’ll use QTerminal, which is my go-to terminal, but you can choose others like XTerm or Xfce Terminal. PCManFM will be my file explorer, and HTop is my task manager. I’ll use Firefox as my browser.
A quick fix: I misspelled the command for PCManFM, but no worries, I fixed it. After a while, I can access Firefox from here. You can also run automation tools and scripts, just like on a regular Linux system.
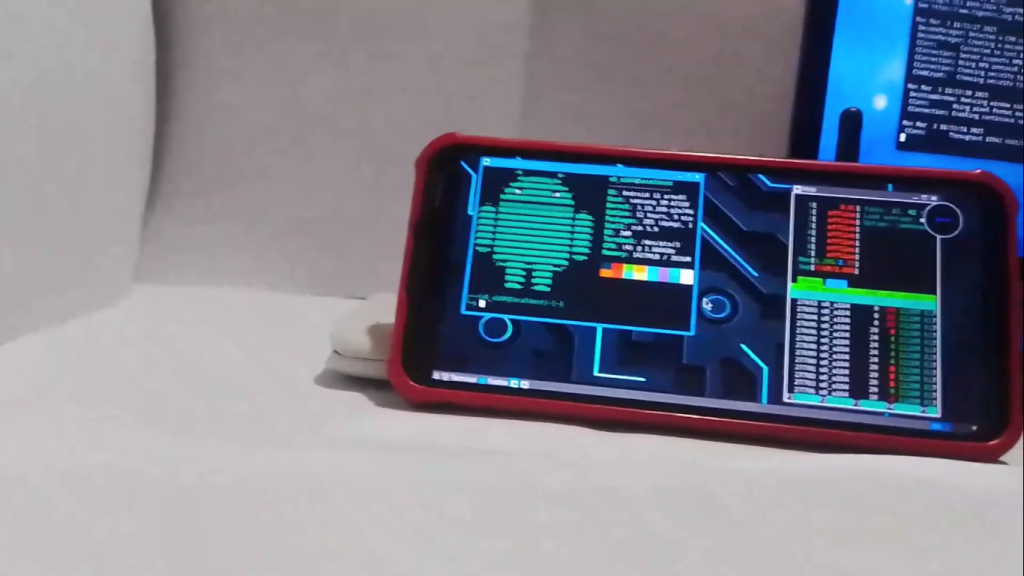
You can switch between multiple workspaces, and everything runs smoothly—RAM usage is pretty low, like 40-50%. You can also change the appearance of the terminal through preferences to make it look cooler.
Finally, here’s the finished result! You can literally do anything in this Linux environment, from running web servers to other Linux tasks.
To connect from my laptop, I’ll click the plus icon in the VNC viewer, enter 127.0.0.1 for localhost, and specify the session number. Then, I’ll enter the password and boom—I’m connected!
The image resolution is poor at first, but I’ll disconnect, go to settings, change the pixel quality to high, and reconnect. Now, the resolution is much better.
And that’s it! Enjoy your Linux setup on Android.